
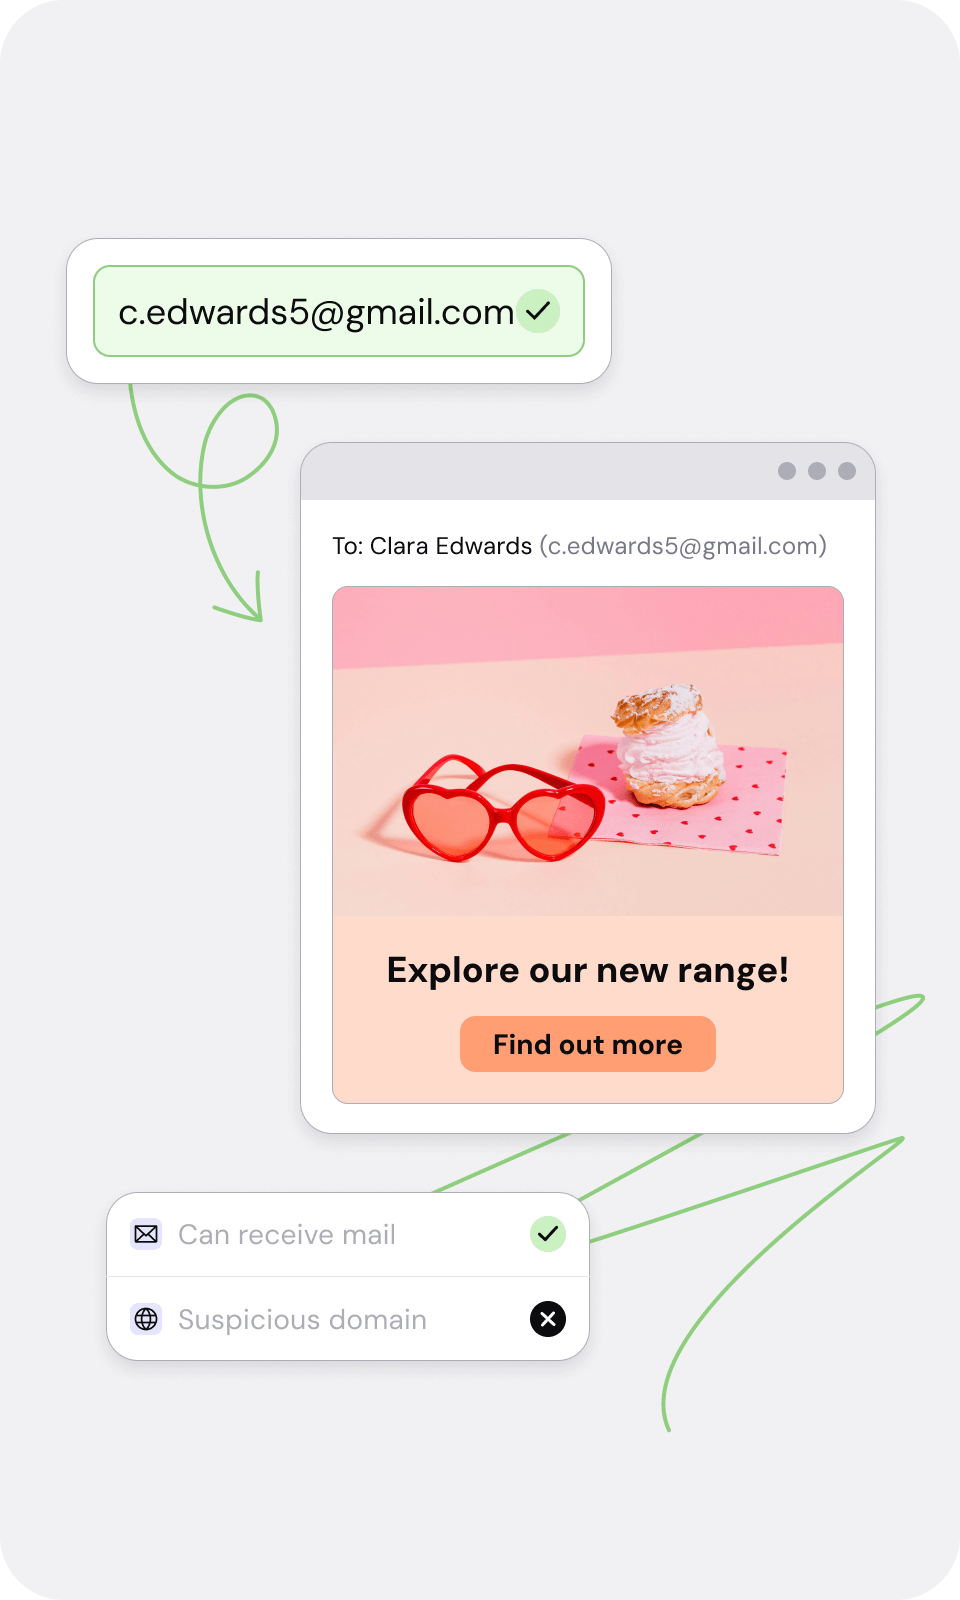
Improve email delivery rates and drive effective communications with valid customer email addresses.
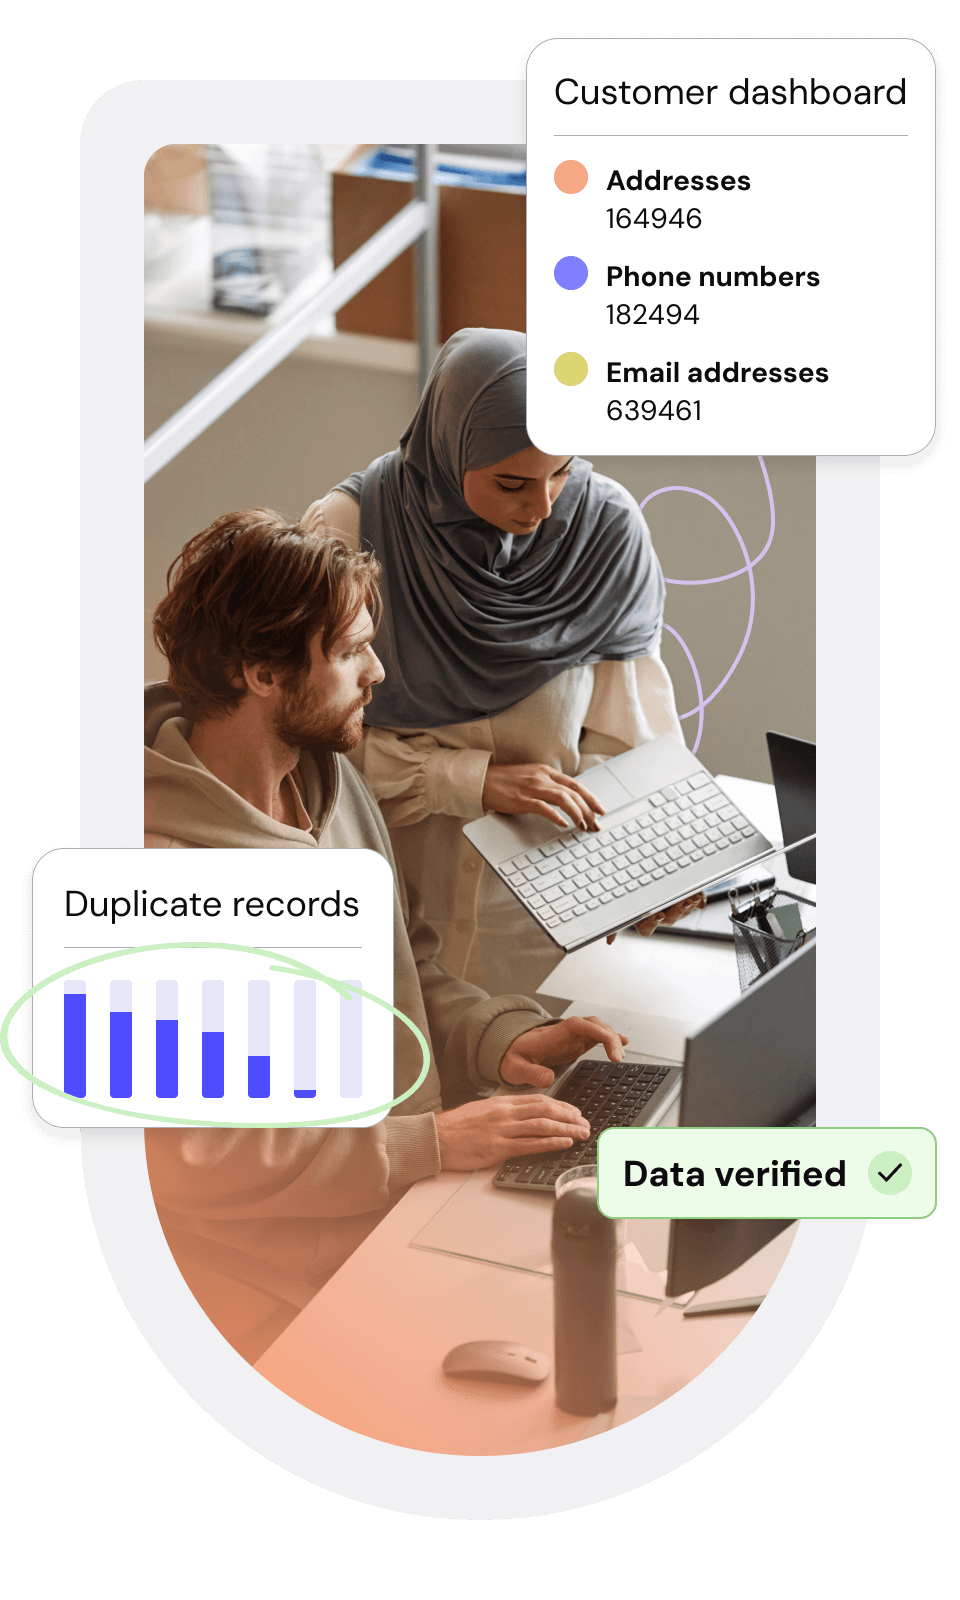
Avoid additional spending and strengthen account security by contacting valid customer phone numbers.

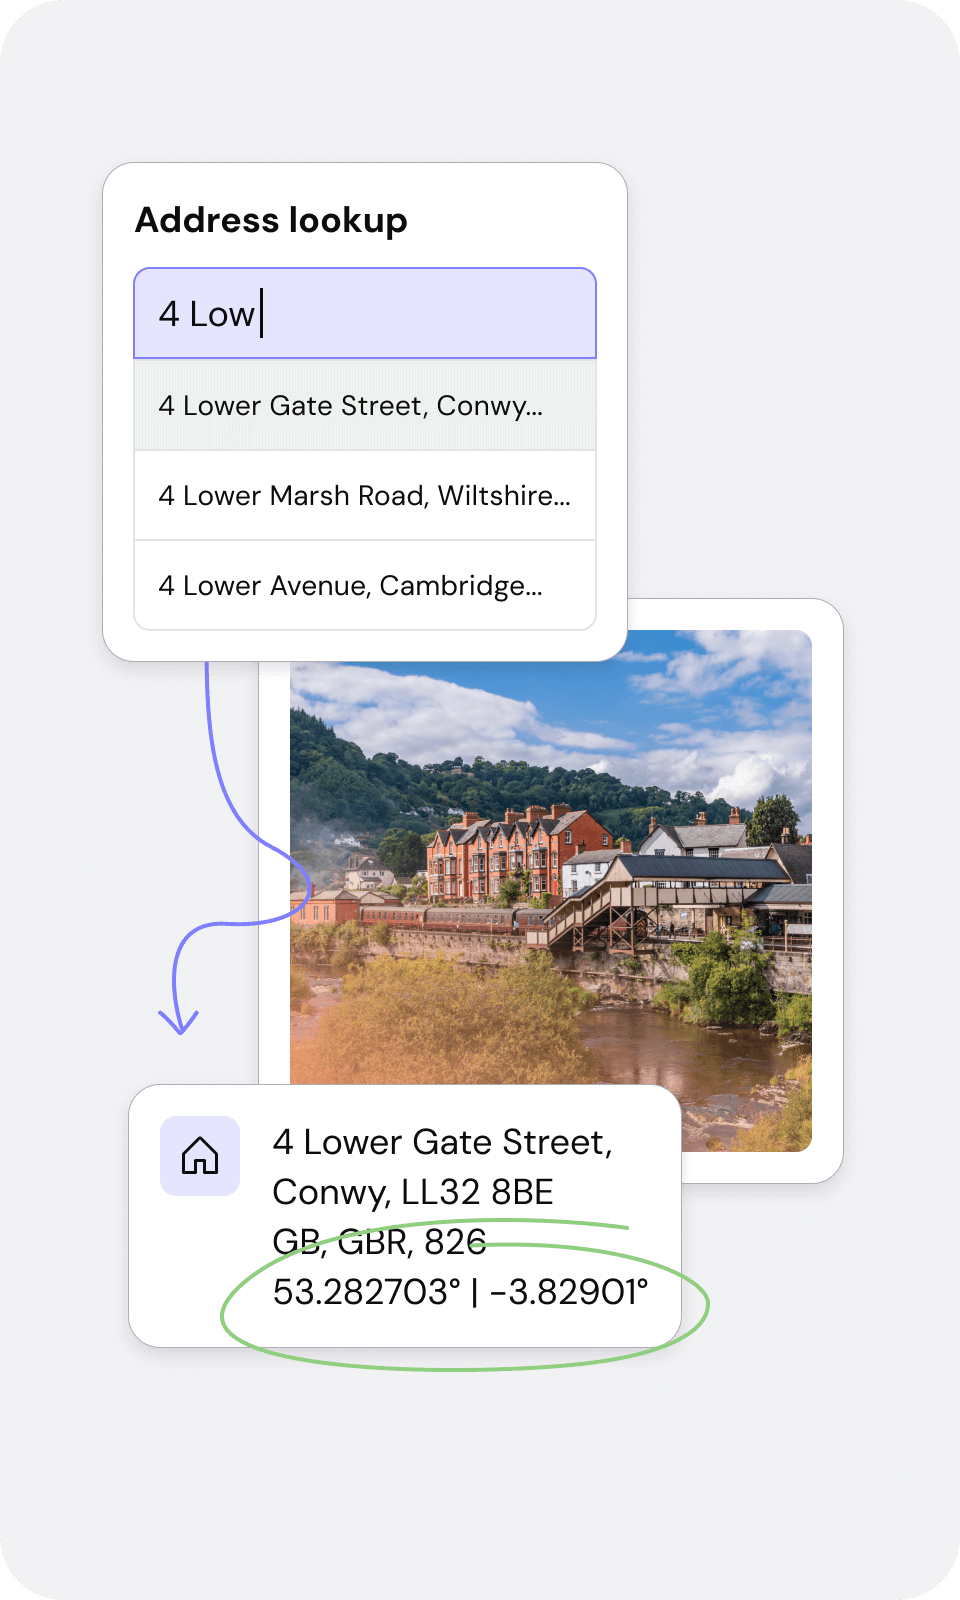
Increase the reliability of your location data and improve downstream operations.
Improve your data quality, protect your sender reputation, and improve marketing.
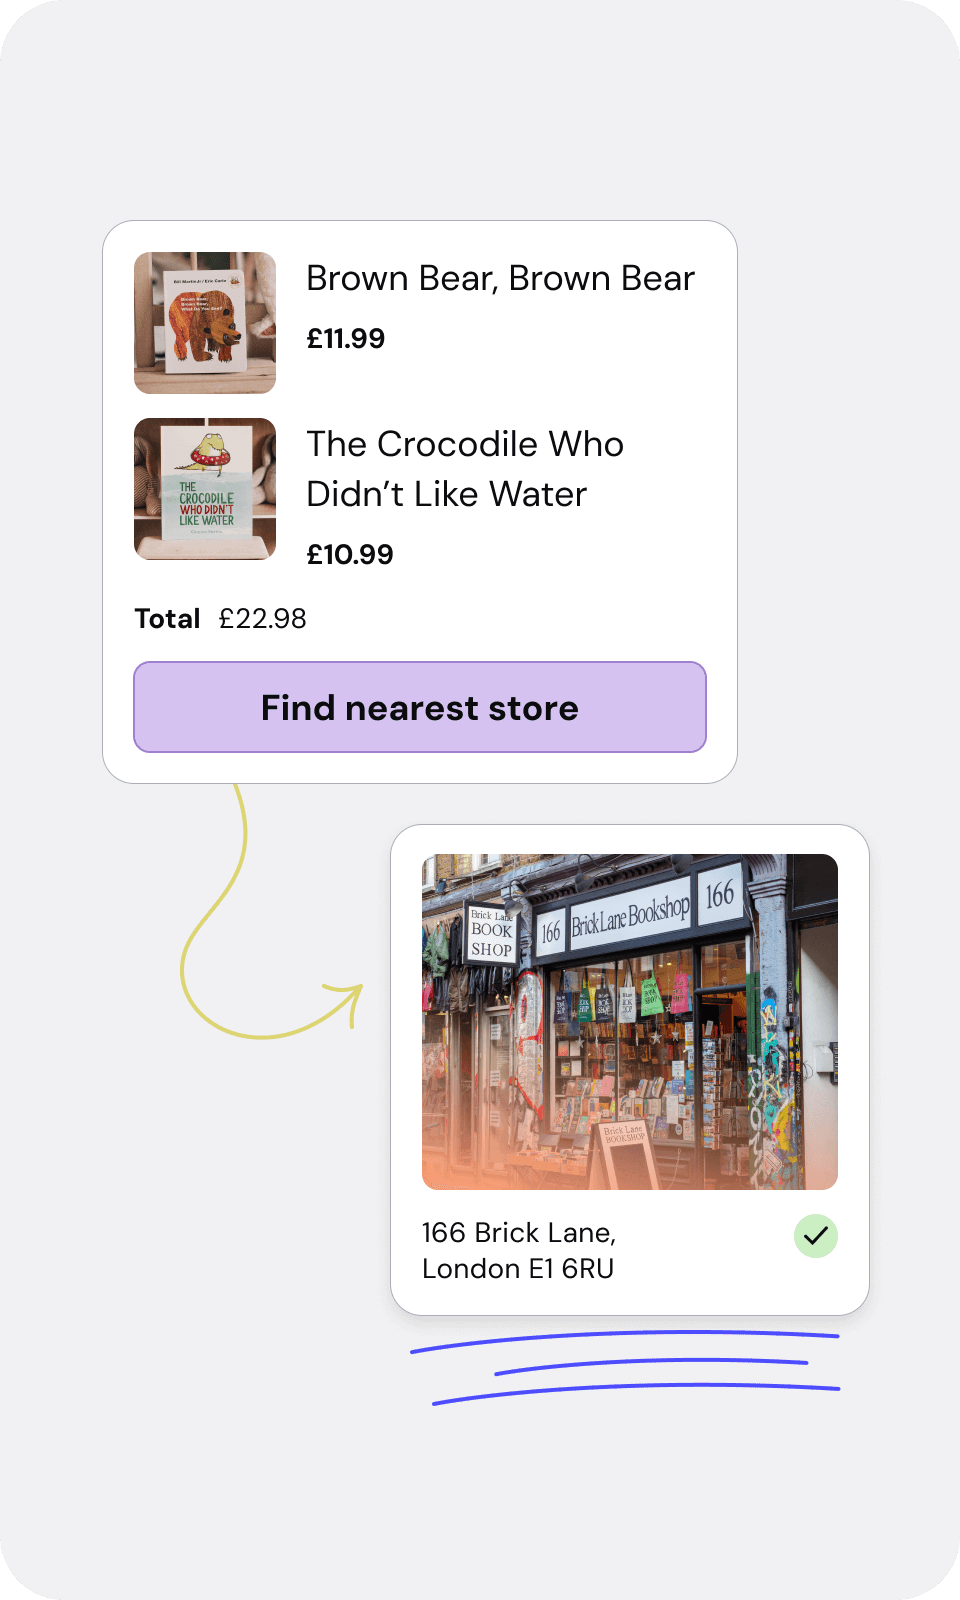
Drive footfall and optimise your returns process by making it as easy as possible for customers.